
My customised aluminium dash panel made by Classic Revival arrived by delivery van.
Where it dips down on the bottom of the dash panel, Classic Revival kindly manufactured this modification for me.

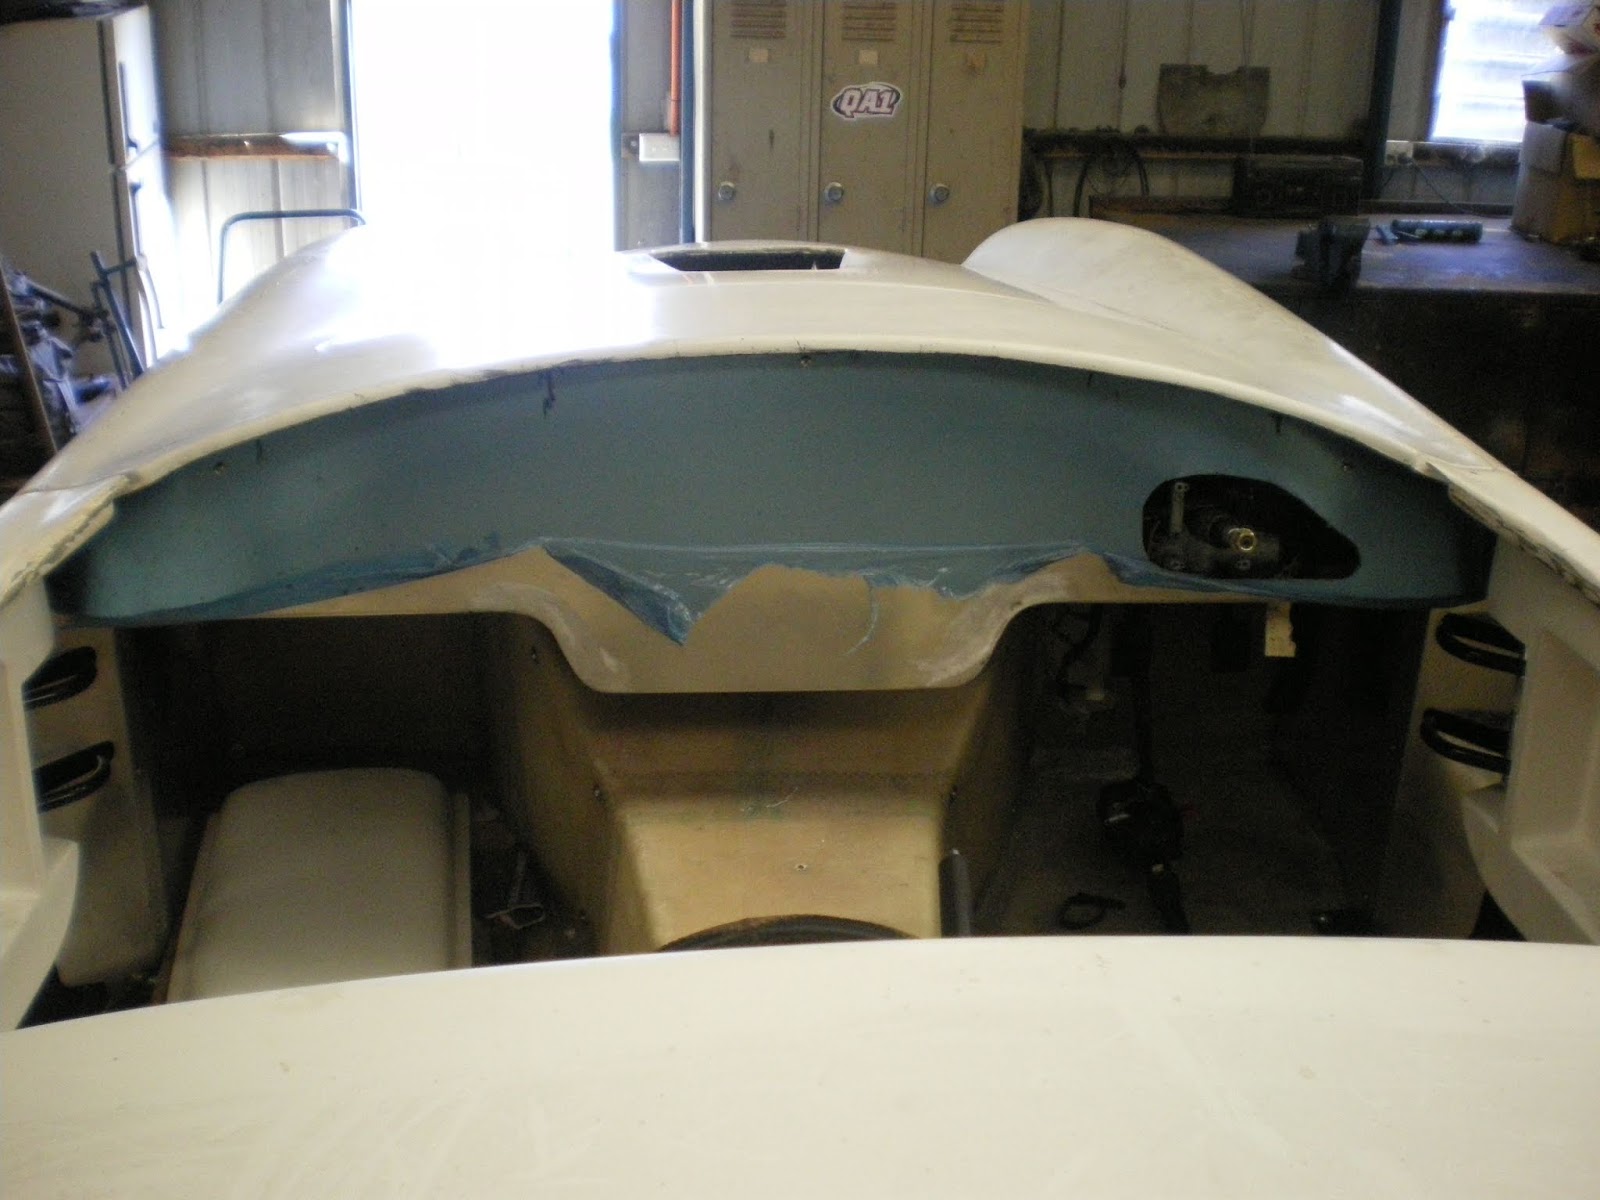
First of many fittings in vehicle, this one was after getting the steering column hole to the correct shape and size.
Front view of dash panel.

This is how I decided were to put the gauges in the dash were I wanted. A cardboard template was made to the exact size of the dash panel then the correct size of the gauges were drawn in place on the template to ensure it looked good to the eye. I then cut the drawn gauges/CD player out of the carboard template and then fitted it back on the dash panel. I scribed the circles/CD player onto the face of the dash panel ready to be cut out.

I preceded to cut the gauge holes out with a hole saw. This was a nervous moment because you only get one go at this.

The results from my efforts I'm happy with so far. I've also put some LED warning lights in as well that's shown in this picture, plus a few extra accessories to get a good idea of what it looks like.

Next was a glove box lid needed to be cut out, same process as gauges with the use of a cardboard template.

The result of the cut out of the glove box lid with the glove box itself made up and fitted.

Final front view with all the holes I needed to be cut out.
No comments:
Post a Comment